Quickstart
Welcome to the exciting world of Coast demos! In this quickstart guide, we're going to show you how to create a single-endpoint template using Agify, a public API that accurately estimates the age of a person based on their first name. Who knew APIs could be so much fun?
By the end of this guide, you'll have a basic understanding of how Coast works, and you'll be ready to impress your colleagues and customers with your newfound demo-building expertise.
Let's dive in and get started!
Follow along the quickstart guide with the following step-by-step video:
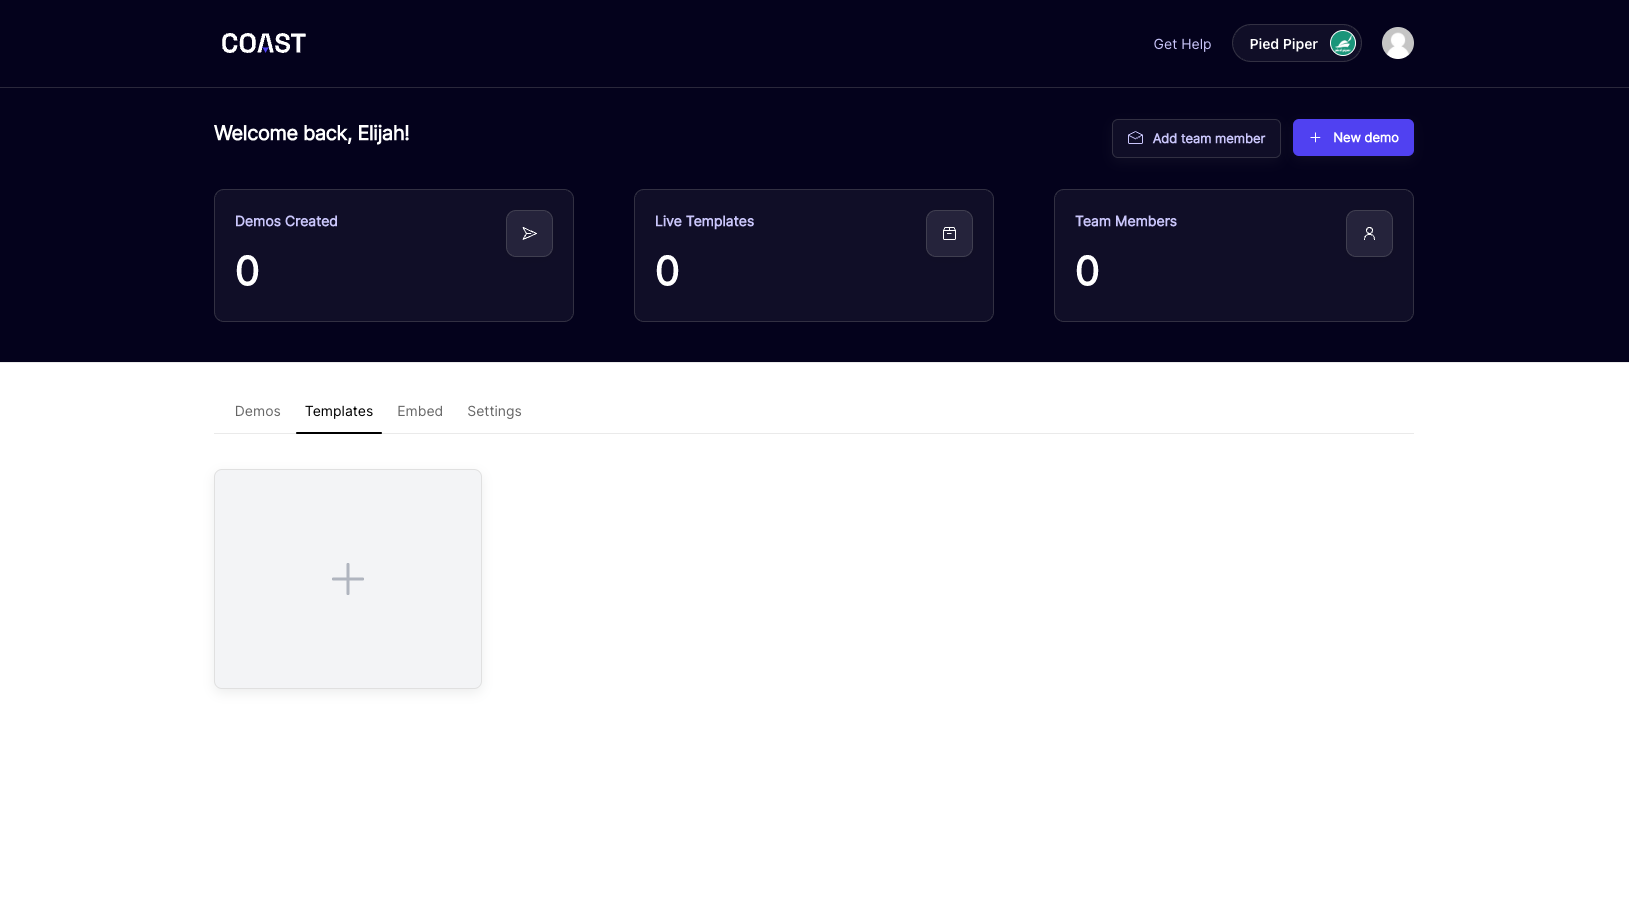
To follow along, open up a fresh template via the Templates tab on your admin dashboard
Hit that big new template button with the plus icon!
If everything went according to plan, you'll now see a grid of possible starting points for your first step. You can learn more about what each of these step types can power on the Step Types page. For this guide, let's go ahead and select cURL/JSON because we're going to be making a live request to Agify
Coast Templates are composed of Steps, which can handle everything from full-screen map embeds to live webhook events.
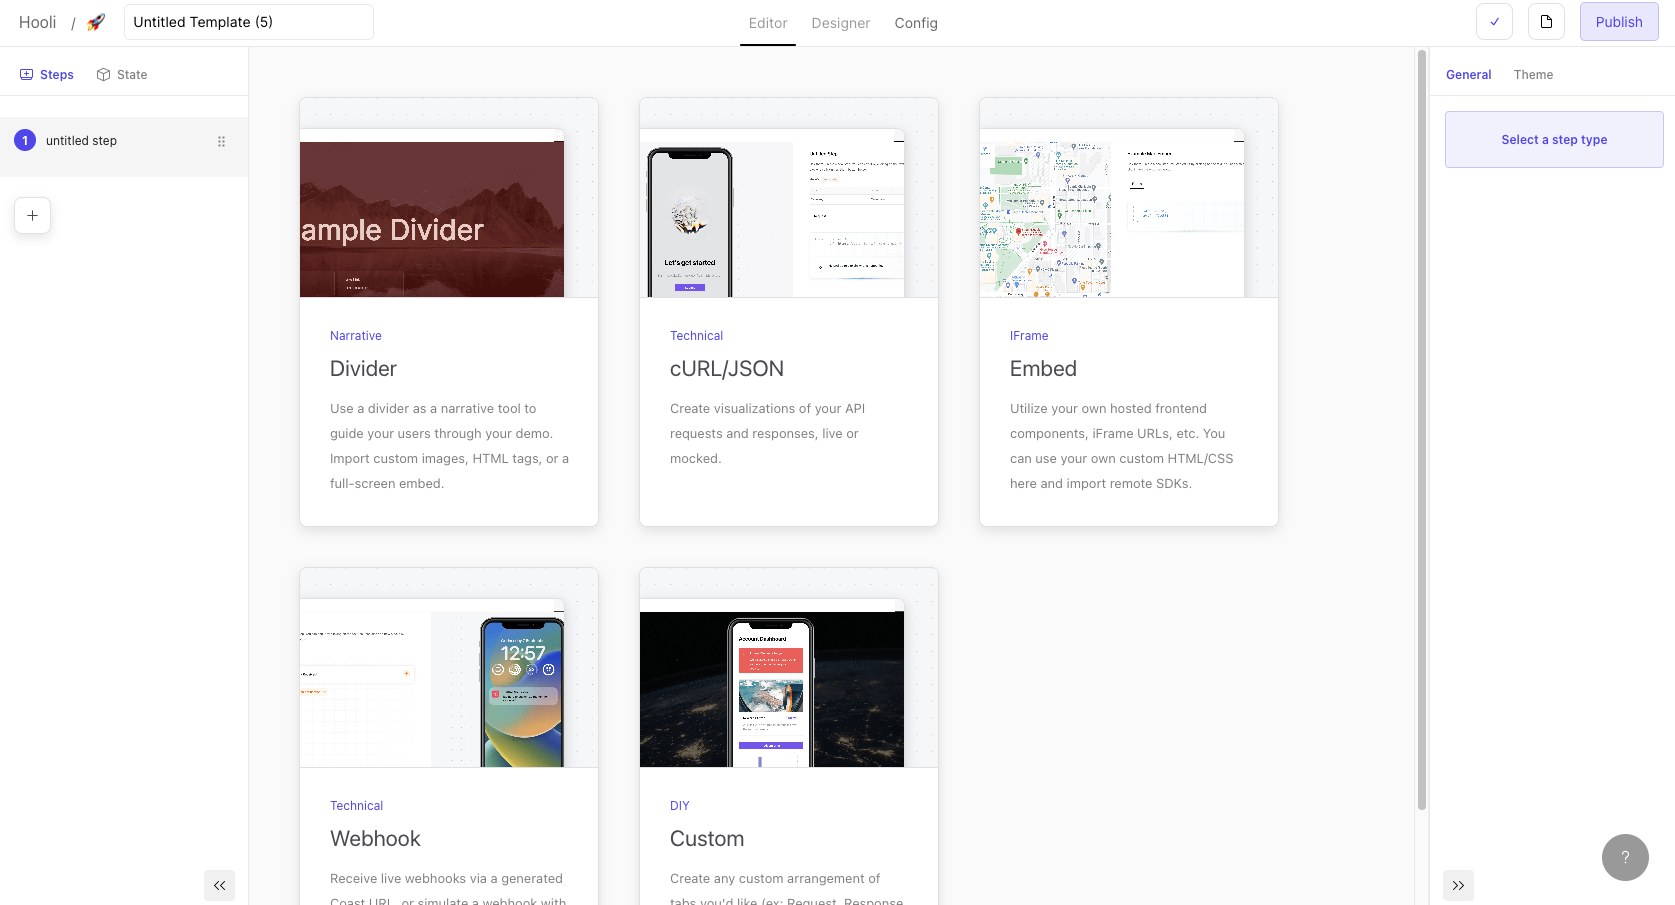
Once you select your step type (in this case, cURL/JSON), you'll be brought to the Editor interface where you define the structure this step's request, processing and response tabs.
Request Set Up
Coast comes packaged with a live node server ready to fire off your requests.
For this demo, we are going to be firing a live API request 🚀. However, you can always opt to mock the API request by toggling the Mock Request option in the top right of the settings. Mocking an API request allows you to simulate a response payload, making a request appear as though if it's live with dynamic data.
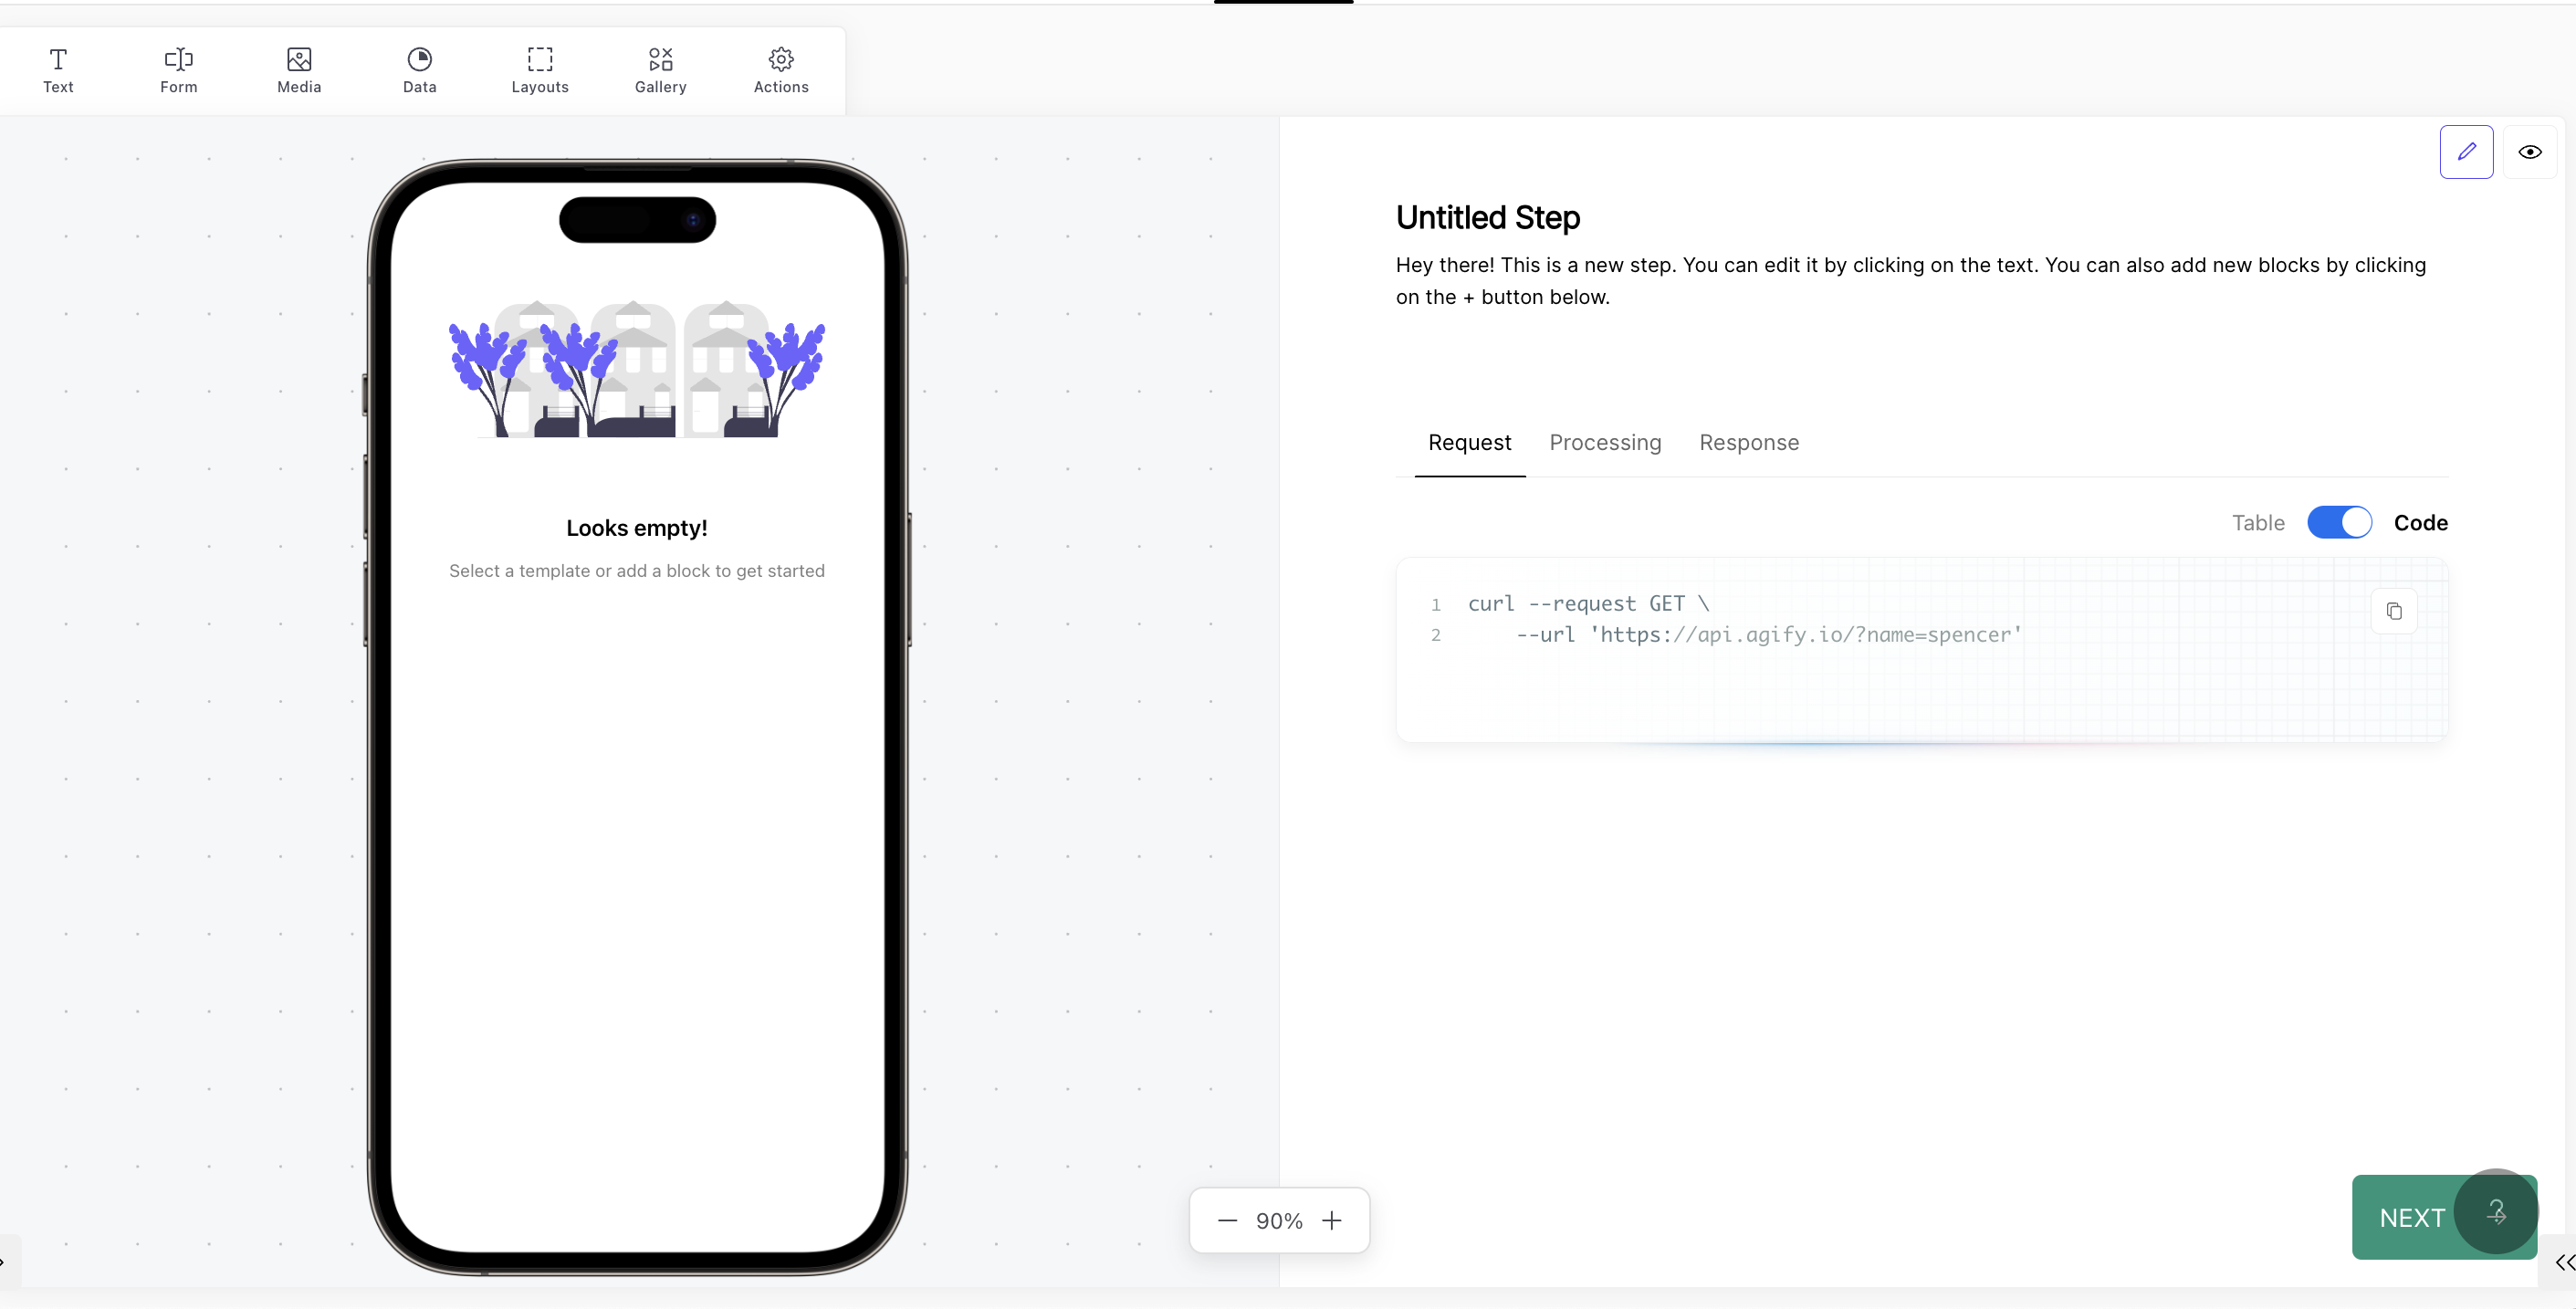
Below is the example curl request we'll want to make in Coast:
curl --request GET \
	--url 'https://api.agify.io/?name=spencer' \
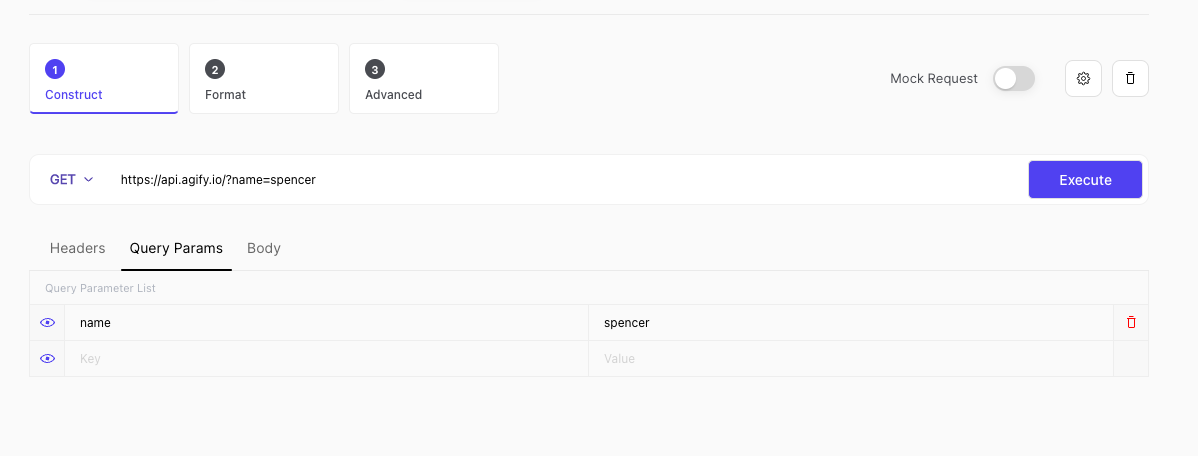
If you've ever used Postman to execute API requests, you should feel right at home in Coast's request Construct experience where you can quickly insert any necessary headers, query params, and the request body:
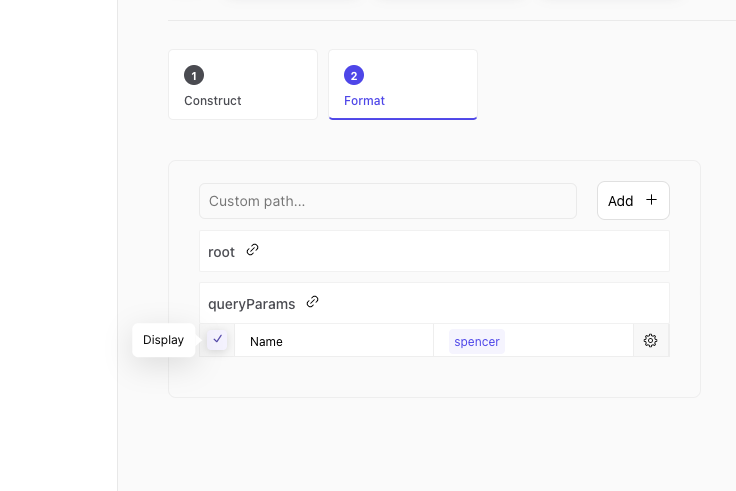
From there, tap on the Format tab, and you'll see Coast has instantly parsed and identified any inputs you might want to collect from the user during your demo. In this example, Coast identified the query parameter: name.
Tap on the Display Checkbox to indicate to Coast this is an important piece of data to collect during your demo:
By clicking any of the parsed keys, you can introduce custom functionality, like prefilling a request value to today's date, generating a new unique ID, formatting a user input according to your specifications, etc.
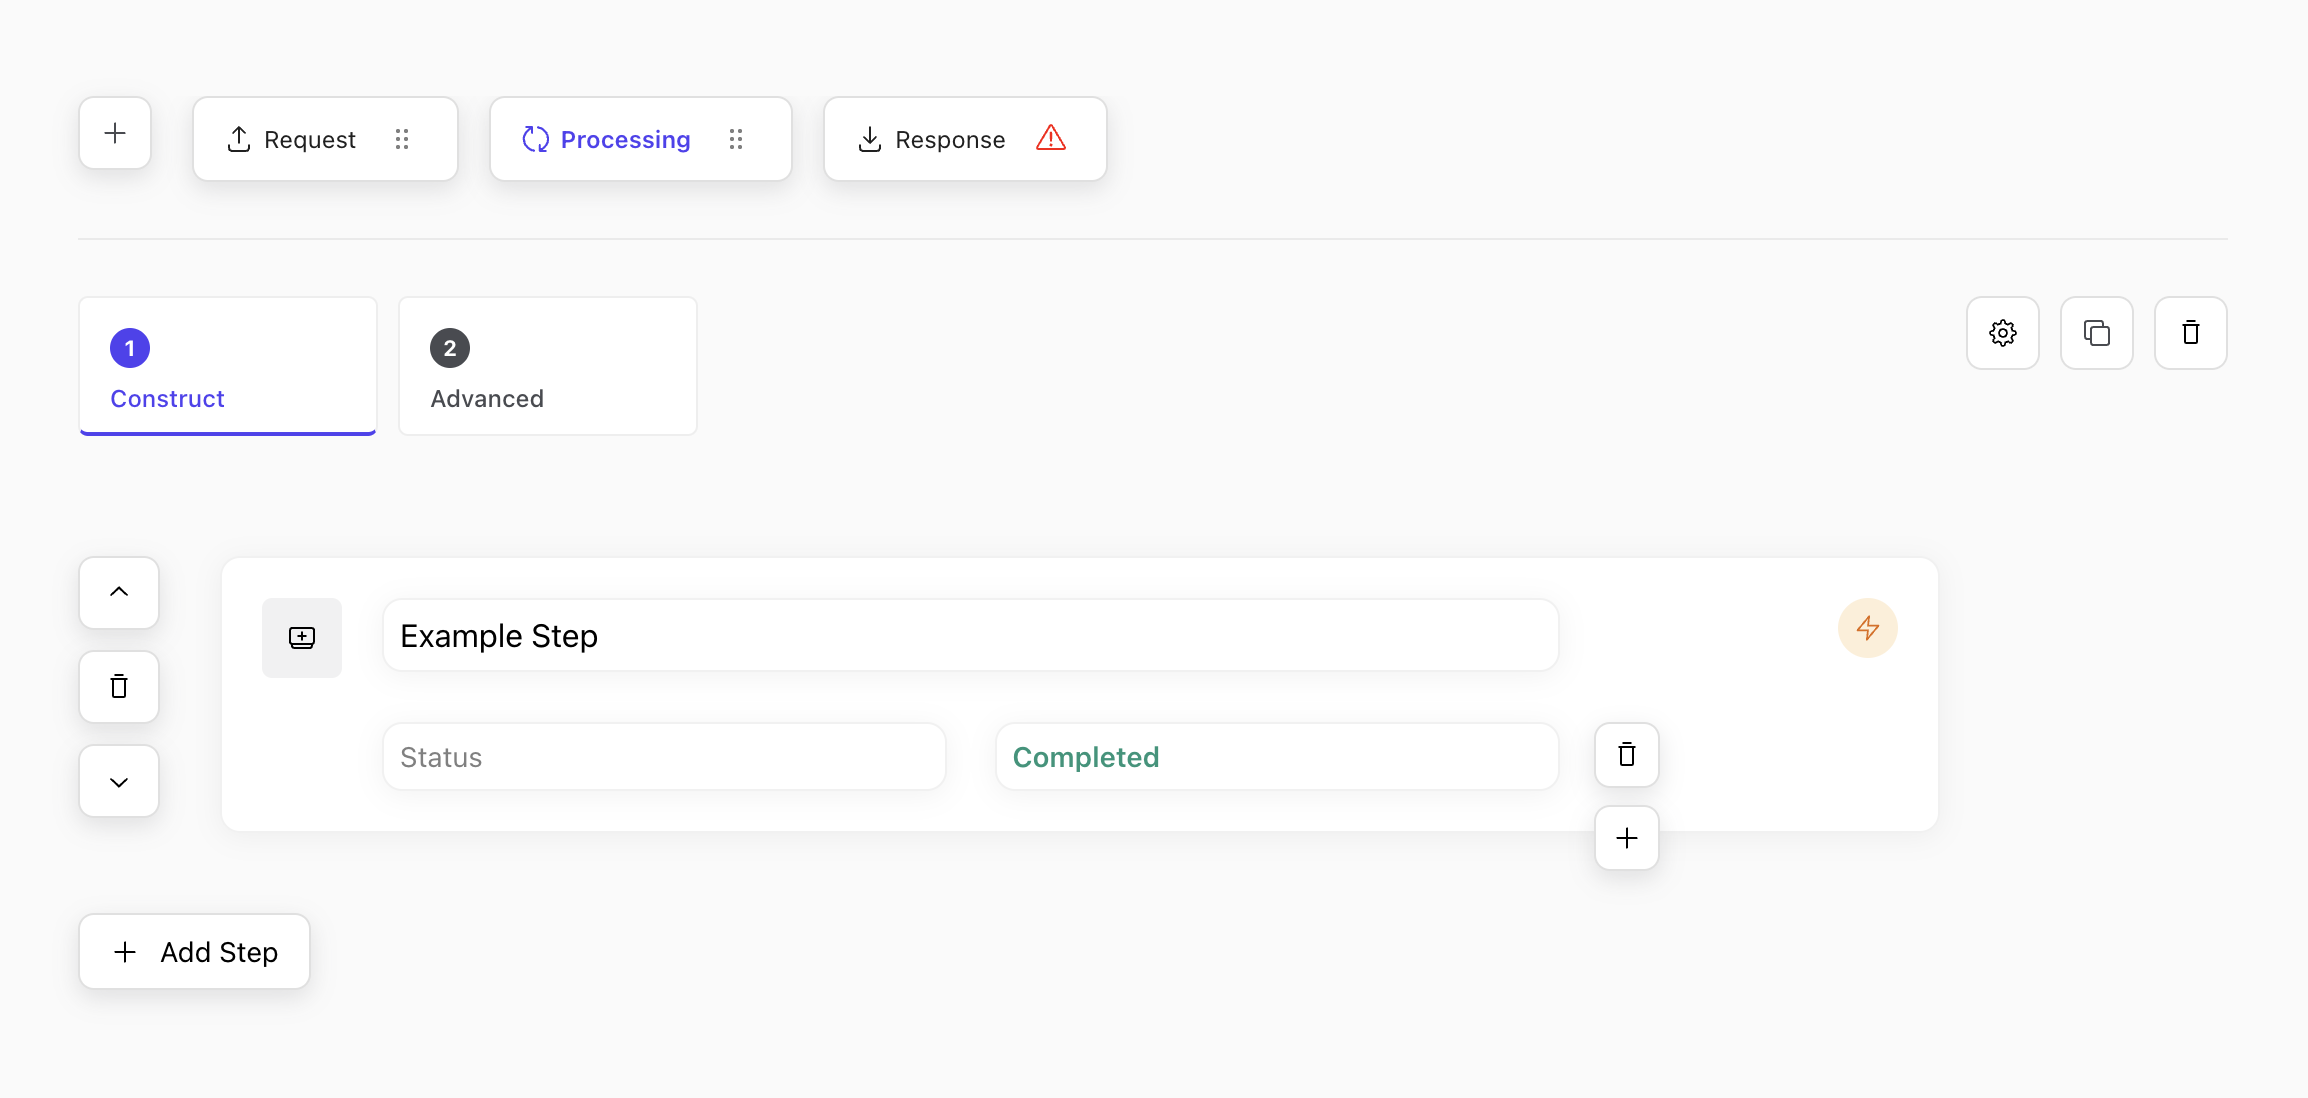
Processing Set Up
Now, let's move onto the processing steps. Processing steps are your chance to call out anything that may be going on behind the scenes of your API request. Replace the default values with something more relevant to the current request we are working with.
Response Set Up
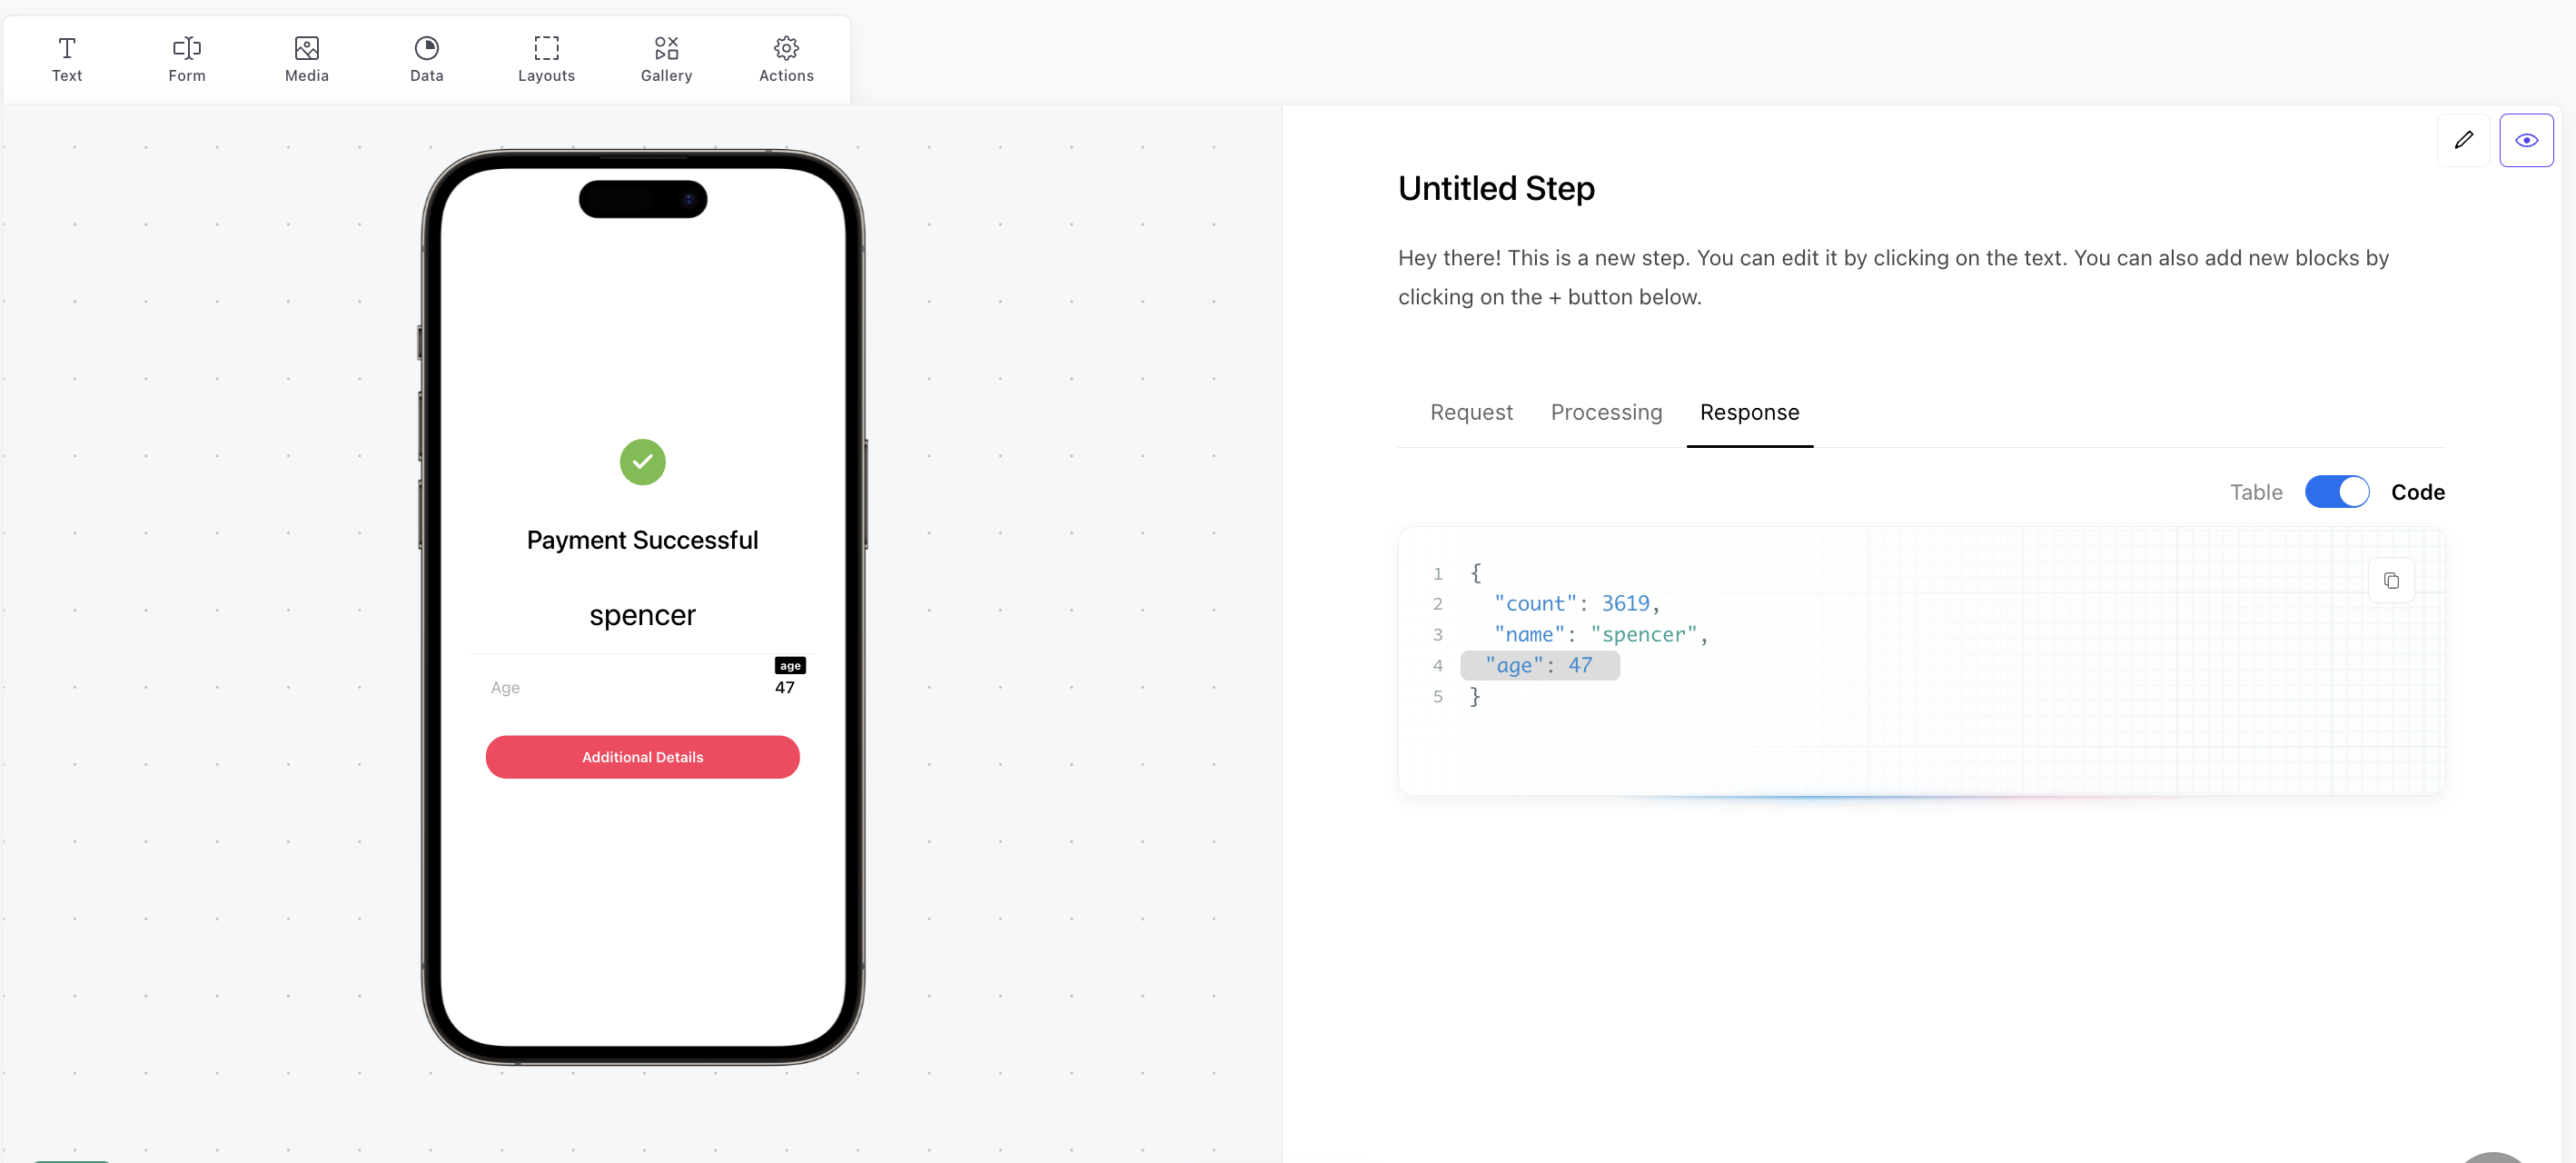
Now that we have our request and processing tabs set up and working, let's complete the loop by creating the response view. Head back to the Editor tab and select the Response tab. Even though this request is live, you still need to hand off an expected JSON payload to Coast, in order to provide the structure of the expected response.
{
  "age": 47,
  "count": 3619,
  "name": "spencer"
}
These values will, of course, be replaced at runtime with the live values, fetched from the API's response.
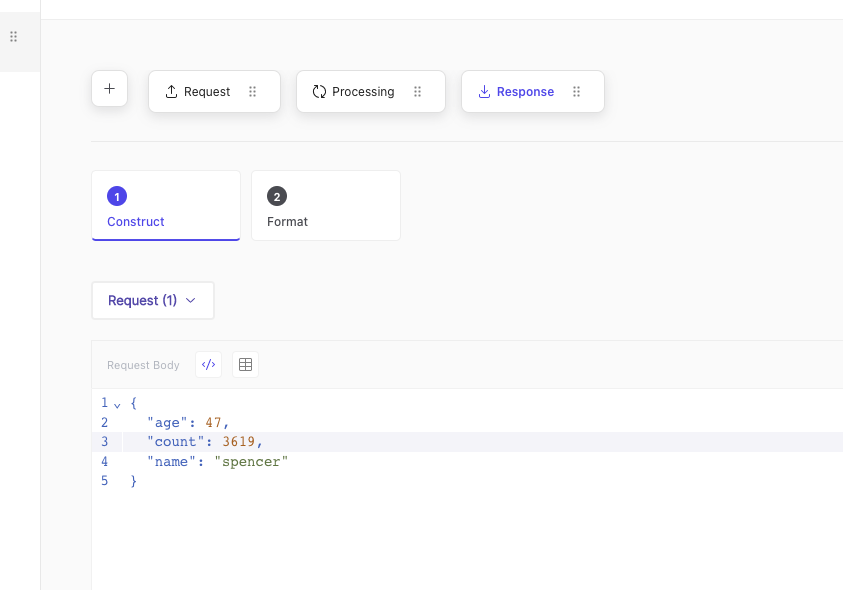
In addition to simply copying and pasting the above expected payload, I'll also select the Request (1) tab in the dropdown on the left hand side, linking the above request to this response:
Why did we need to link the request? Linking the request is telling Coast to populate this tab with the response data that came from Request (1). With this functionality, you are free to populate responses with data from any previous request in the demo, not just the preceding tab.
Same drill as what we did in the Request setup... tap Format, toggle on Age and Name. Toggling these fields will ensure the response UI is shipped with code block hover interactivity.
Instant UIs
If you navigate to the Designer in the top tab, you'll see the nicely formatted code block on the right side of the screen and an empty UI.
Designer tab not clickable? Double check your request and response tabs for any syntax errors. Coast would never let you show a URL or JSON containing inaccuracies.
Tap on the gallery button on top of the UI and select an appropriate UI design for this use case. A simple form with an input will do just fine here.
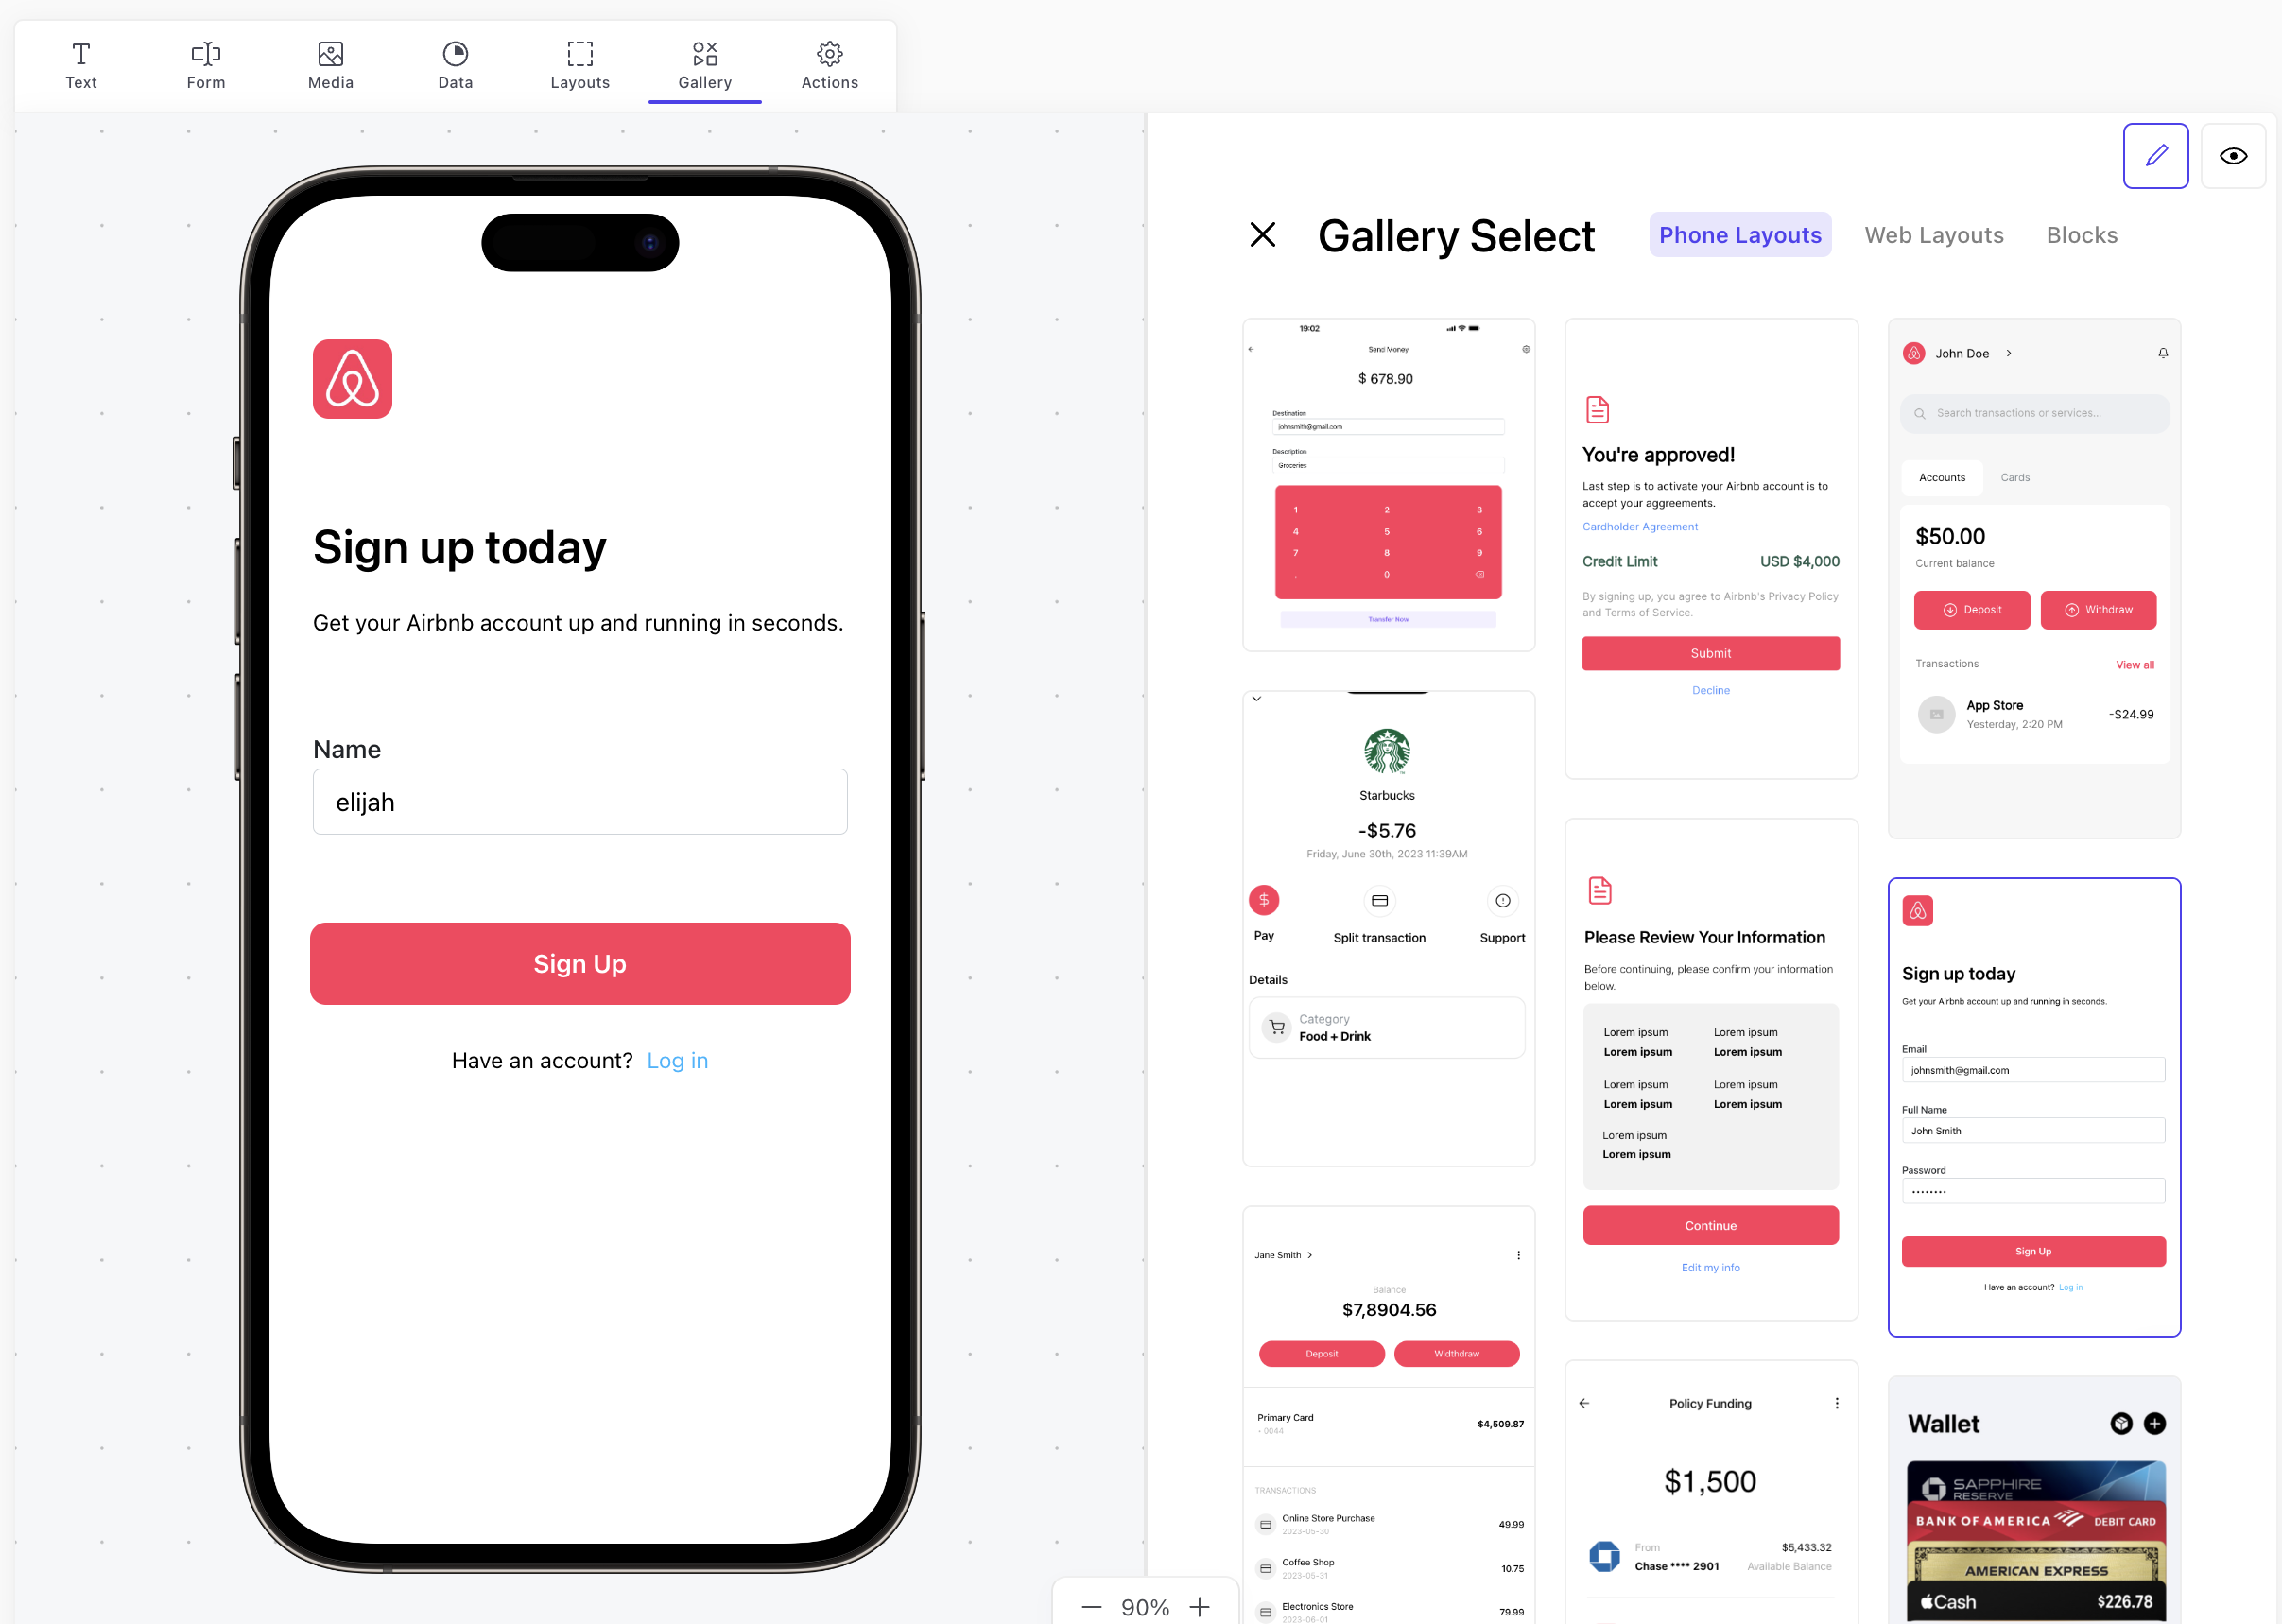
You'll notice that the UI has automatically been populated with an input for Name, that is hooked up to the request in the code block. Flip on presentation mode, put your own name in and fire the request!
Let's now choose a gallery UI for the response screen. Because we had selected to display the Name and the Age on the Response Setup, this UI is automatically populated with these data. While in presentation mode, hover over them and watch them light up 💡 in the code block.
What's next?
Great, you're now set up with an initial step executing a live API request, accepting dynamic inputs from the user, and visualizing the response. We've just scratched the surface of what Coast can do: