Blocks
Blocks are the fundamental components that make up UIs on Coast. Any data you see on the interactive portion of demos are made up of Coast blocks. Blocks are added to the UI from the top bar of the Designer.
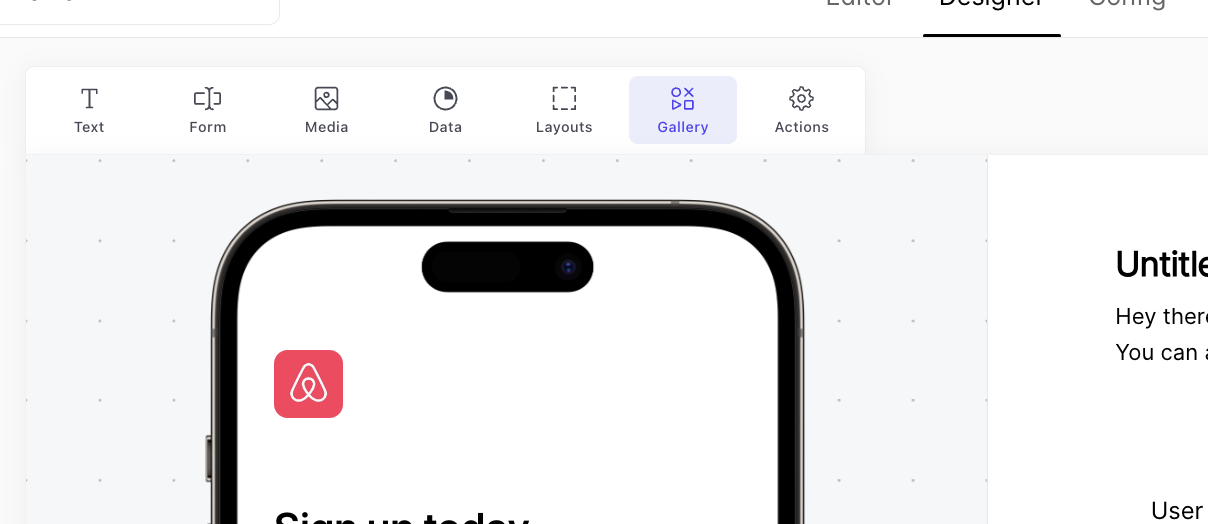
Blocks serve varying purposes and, as a result, have varying capabilities. Some can be linked to data (Linking Data), some can trigger actions in the demo, some act as containers while others are purely aesthetic. When a block is selected, its configurable properties are displayed on the right panel.
With a solid understanding of Coast's Base Blocks, you can build just about anything you wish, without touching a single line of code.
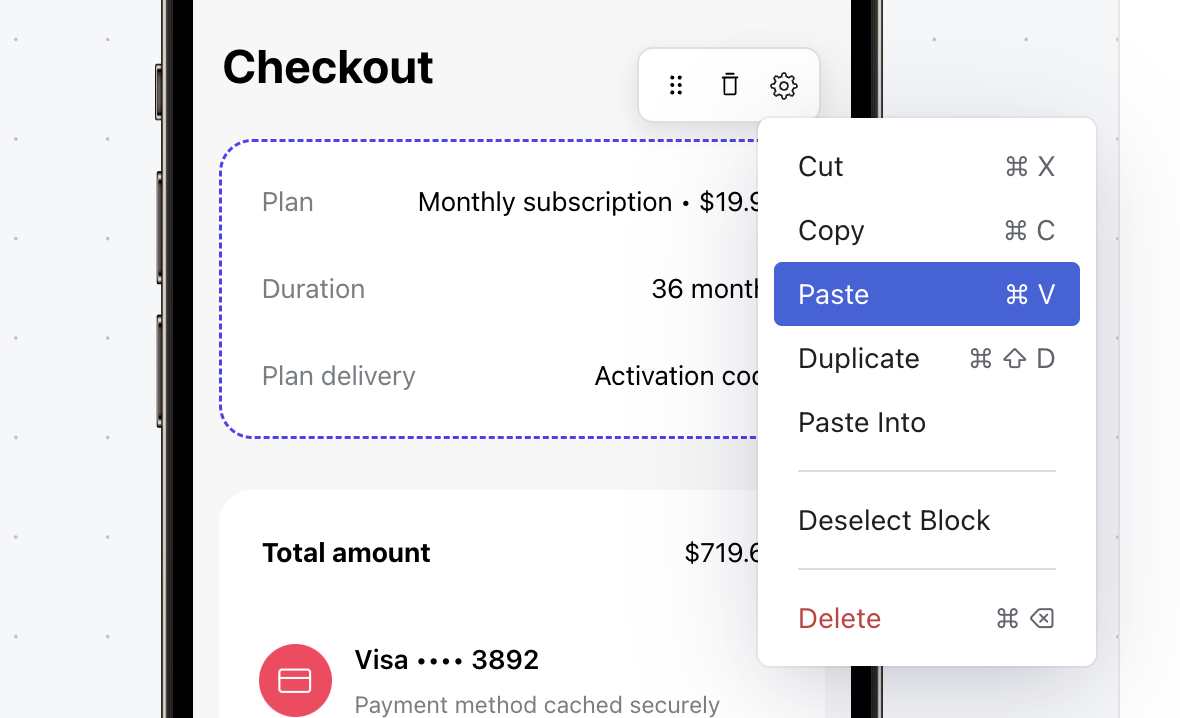
Drag blocks to reorder them within their parent container. Copy, paste or delete blocks directly from the UI, with the block's gear ⚙️ icon.
Text
Plain Text
Response Linking 🔗
Link text to State to have it automatically populate with data from a response. Or, hardcode text by typing it in the Text input field. Reference paths in the Local DB or run JavaScript by using {{ }} syntax.
Form
Inputs
Request Linking 🔗
Collects input from a user. If the input field is linked on a request (mocked or live), the user input is automatically saved to the Local DB, under tabName.inputs.inputName.
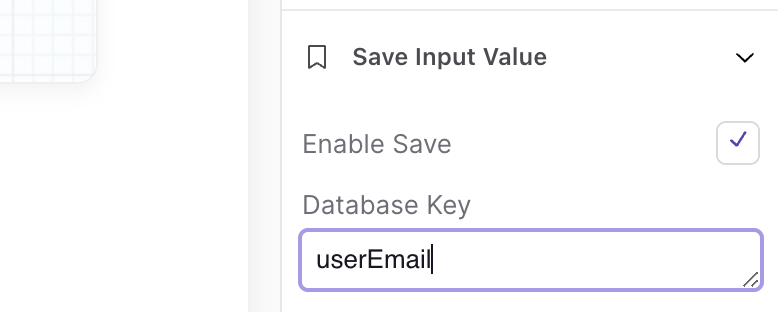
If an input block is not linked to a request input, user input can be saved to the Local Database via the checking off the Enable Save box in the right-panel.
Execute Button
Triggers action ⚡️
Button that executes (or mocks the execution of) the request on the current tab. If not on a request, this clicking an Execute Button block will advance the demo. Easily edit the text inside the button, as well as its styling on the right panel.
Media
Image
Purely aesthetic 🎨
While an image cannot be explicitly linked to request or response data, it's URL input can reference a Local DB path. This is useful for displaying images that are not returned by the API, such as logos or avatars.
Icons
Purely aesthetic 🎨
Select an icon from the Geist gallery.
Embed
Purely aesthetic 🎨
Embed content such as a YouTube video or a Google Map. Simply paste the embed code into the Embed Code input field.
iFrame
Purely aesthetic 🎨
iFrame is a block that allows you to embed an iFrame-friendly website on your UI. Simply paste the URL of the website you wish to embed into the URL input field, and the website will be displayed within a block on your UI.
Layouts
Spacer
Purely aesthetic 🎨
Empty block to provide some dividing space between blocks or at the top or bottom of the parent container.
Horizontal Container
Container block 📥
By default, blocks are aligned vertically in their parent container. Add a Horizontal Container block and populate it with children blocks to see them aligned horizontally.
Vertical Container
Container block 📥
Although blocks are aligned vertically by default, add a vertical container to add additional customization to your UI by grouping data into containers.
Clickable Container
Container block 📥 + Triggers action ⚡️
Turn any block into an button with the Clickable Container block. Add children blocks inside of a Clickable Container to create a customized way to advance the demo, navigate to a specific step/tab, or even trigger a request from the Resource Library.
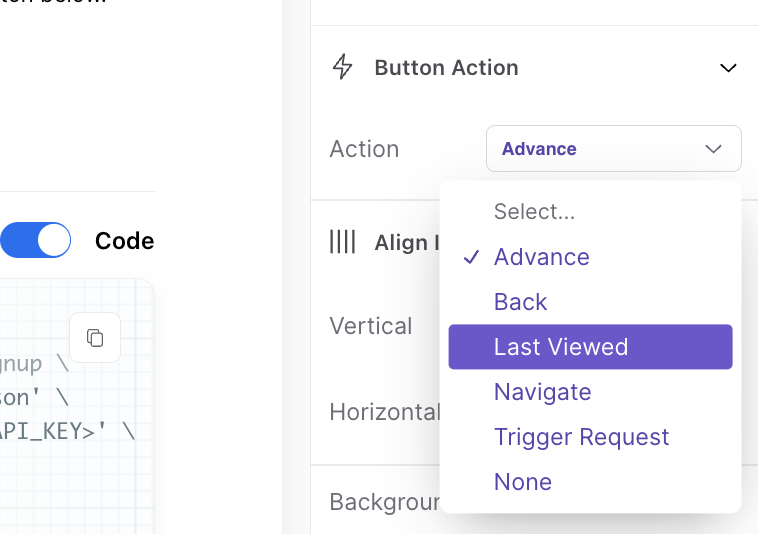
Introduce non-linear demos and create a more interactive experience by adding Clickable Containers that conditionally navigate users to different routes in your demo.
List
Container block 📥 + Response linking 🔗
Display array data on Coast UIs by adding a List block. Link the List Block to an array and add children blocks to customize its design.
For some blocks (such as Text), if added as children to a List, can be linked to array fields via theArray Path input. For children blocks where Array Path is not available, you can access list data via {{ this.val }}.
Let's look at a quick example. Say you have the following array in your response payload:
{
  "transactionData": [
    {
      "merchant": "Amazon",
      "amount": "$45.66",
      "merchantLogo": "https://static.vecteezy.com/system/resources/previews/014/018/561/original/amazon-logo-on-transparent-background-free-vector.jpg"
    },
    {
      "merchant": "Walmart",
      "amount": "$100.34",
      "merchantLogo": "https://companieslogo.com/img/orig/WMT-0d8ecd74.png?t=1633217525"
    },
    {
      "merchant": "Apple",
      "amount": "$1,784.89",
      "merchantLogo": "https://encrypted-tbn0.gstatic.com/images?q=tbn:ANd9GcTaHZzRBFl6qP8XTl4OjSMtMfVCaiRs0R9cDd1bO00&s"
    }
  ]
}
First step is to add a List Container, and link it to the Transaction Data array. Don't see Transaction Data as a linking option? Make sure you have it selected on the format tab in the Editor.
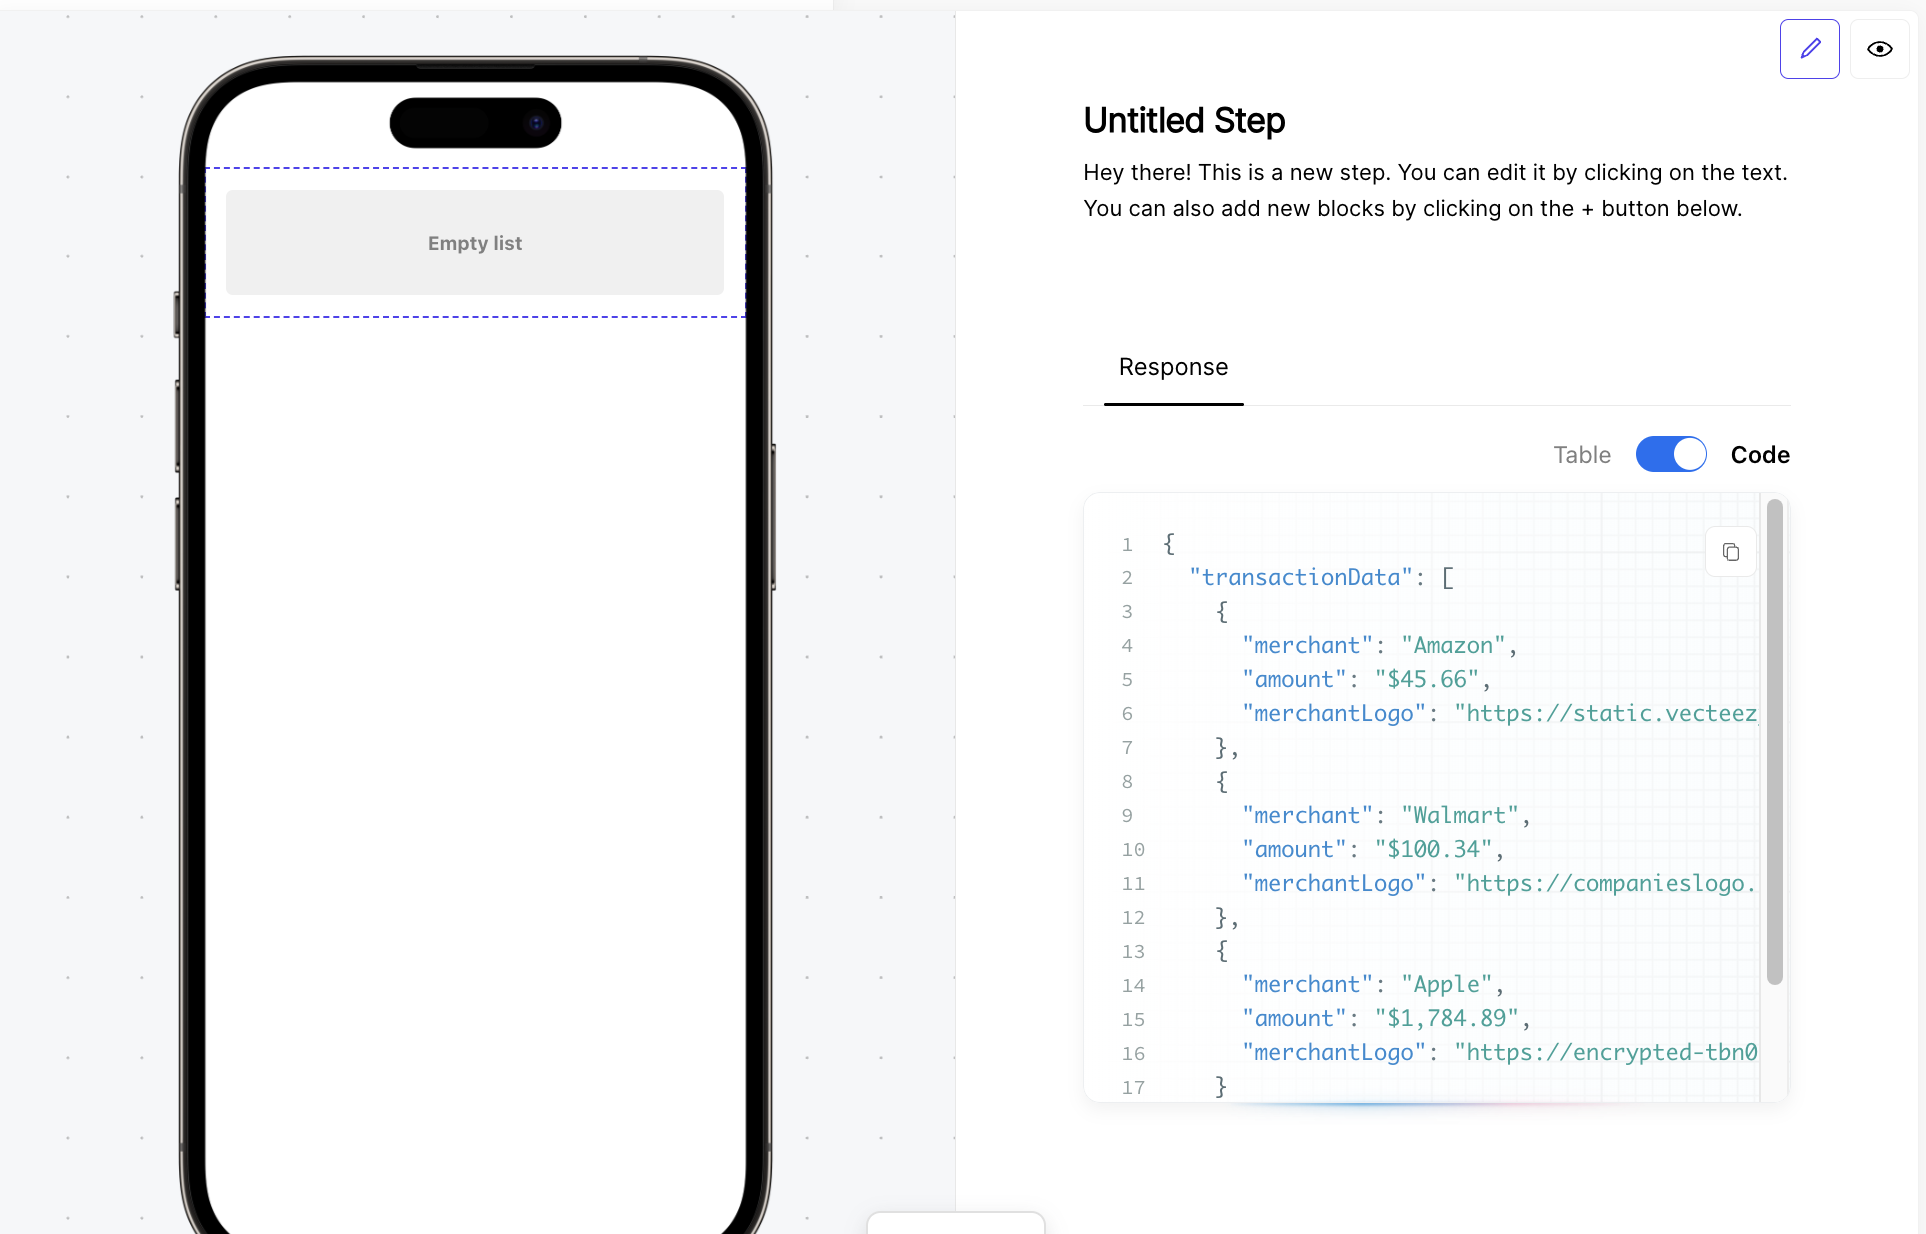
Now let's add some children components to this list. Add in a Header and Image by clicking on their blocks, while ensuring the list is selected (otherwise the blocks will be added outside of the list container).
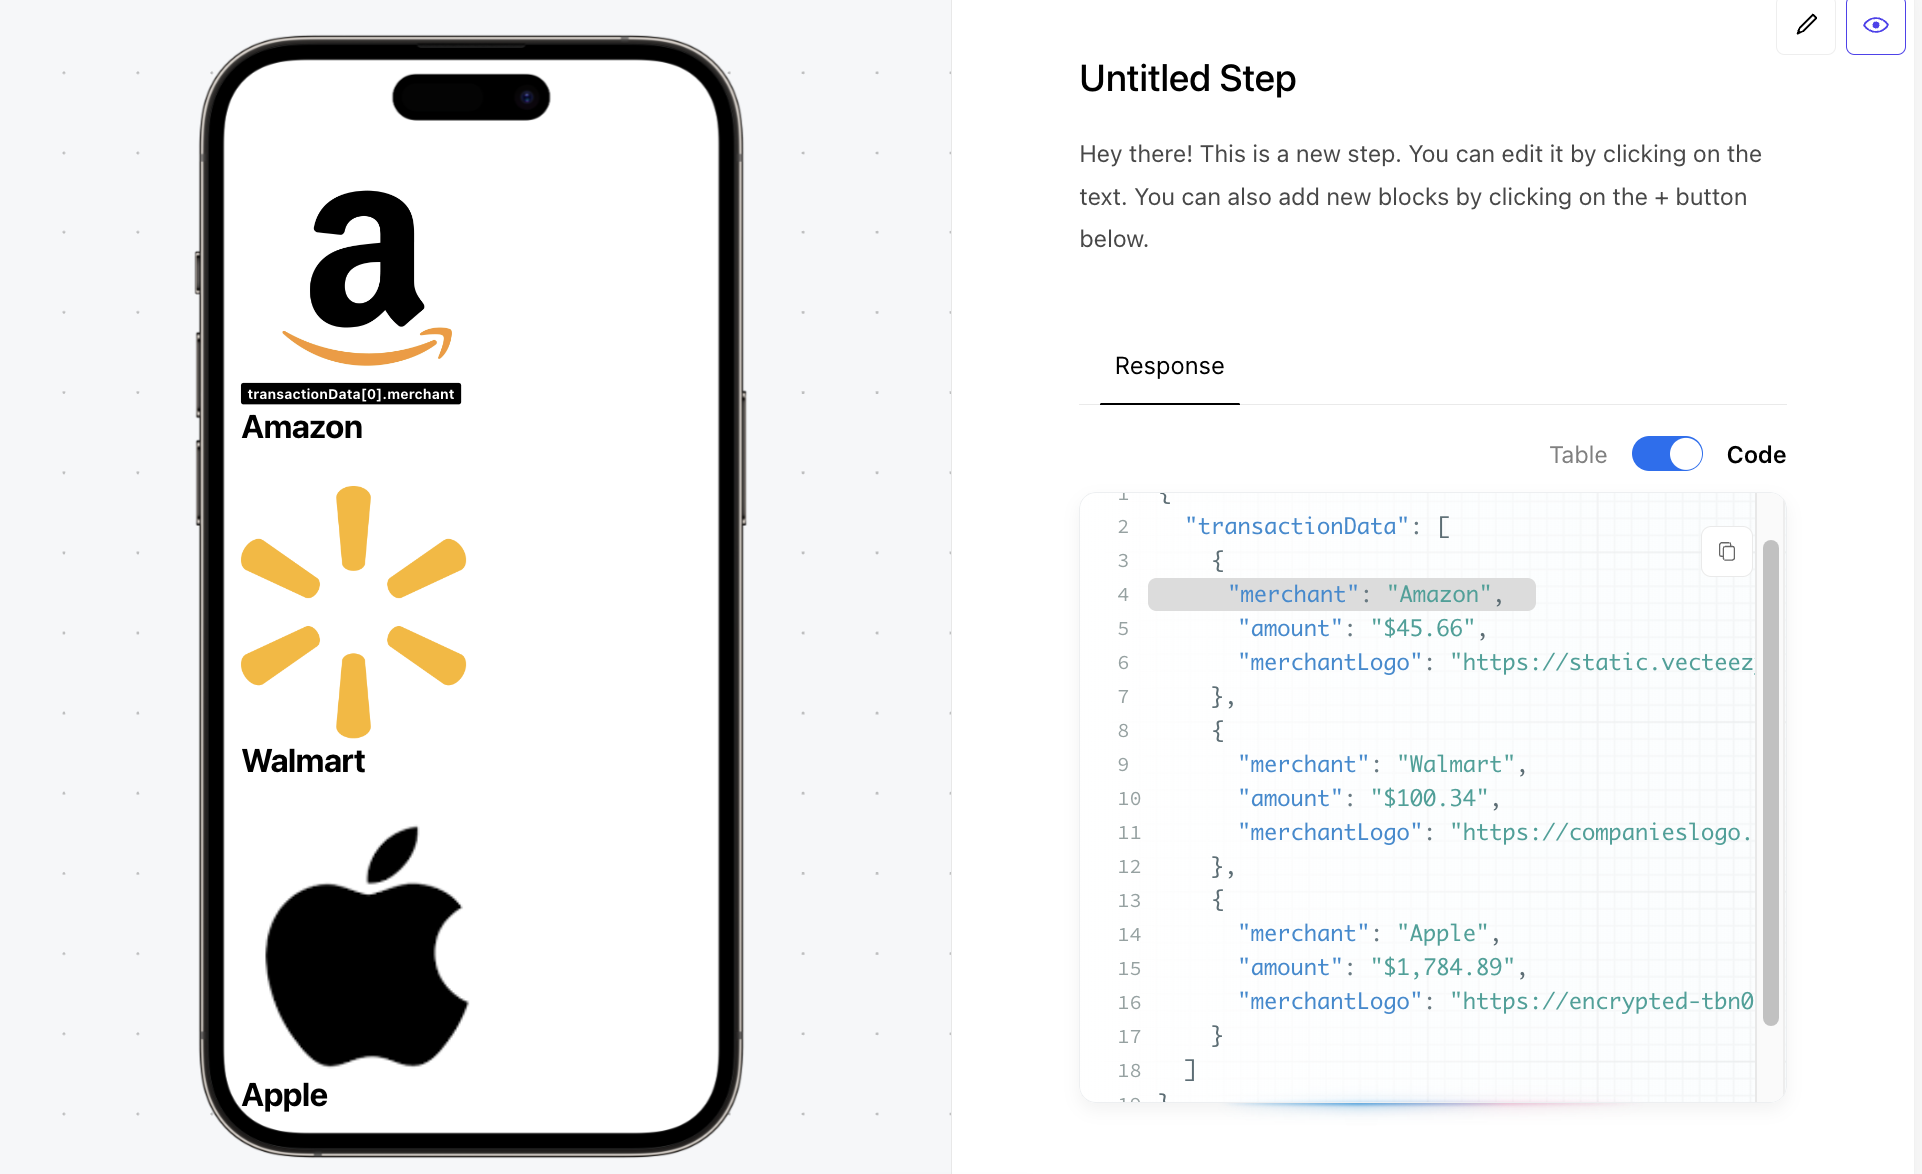
If you successfully added the Header block inside of the list, when clicked, you will see an input field Array Path, on the right panel. Here, we specify the path to the data (within the Transaction Data array) we want to show in the Header. For this example, let's go with merchant.
Click on the image block and populate the Image URL field with {{ this.val.merchantLogo }}. Hit Presentation Mode to see your custom-designed list come to life.
Add a Clickable Container to a list to make it selectable. Coast will also
keep track of the data that was clicked in the Local DB under the path:
tabName.clicked
Custom Code Block
Container block 📥
Have some custom material you want to show? Would you rather build a component in React Native than a no code editor? No problem! Adding a Custom Code block puts you in a React Native environment, where you can custom design a component using JSX. Make sure to wrap any JS logic inside of {}, in order for it to evaluate as proper JSX.
Read from the local database inside of a Custom Code block with the $DB("pathToData") function.
Example:
<View>
  <Text style={{ fontWeight: 'bold' }}>
    {$DB('instance.prospectDetails.company')}
  </Text>
</View>
For security protections, it is not possible to write custom functions here. However, you can use ternary expressions to conditionally render different content based on a condition
Data
Charts
Data Visual 📊
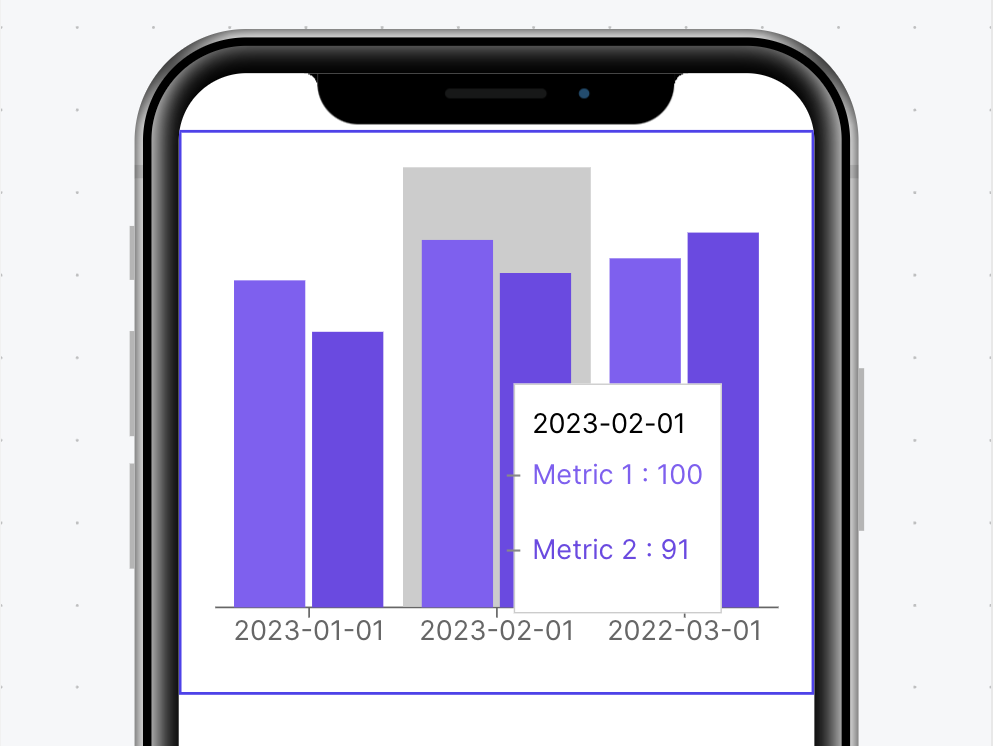
Charts are a unique block type in Coast, that allow you to highlight numerical data from an array returned by your API. Coast's Chart Builder currently supports Area, Bar and Line charts.
Let's see how a multi-variable chart works in Coast with a simple example.
{
  "salesData": [
    {
      "metric1": 89,
      "metric2": 75,
      "date": "2023-01-01",
      "reportType": "10k"
    },
    {
      "metric1": 100,
      "metric2": 91,
      "date": "2023-02-01",
      "reportType": "10k"
    },
    {
      "metric1": 95,
      "metric2": 102,
      "date": "2022-03-01",
      "reportType": "10k"
    }
  ]
}
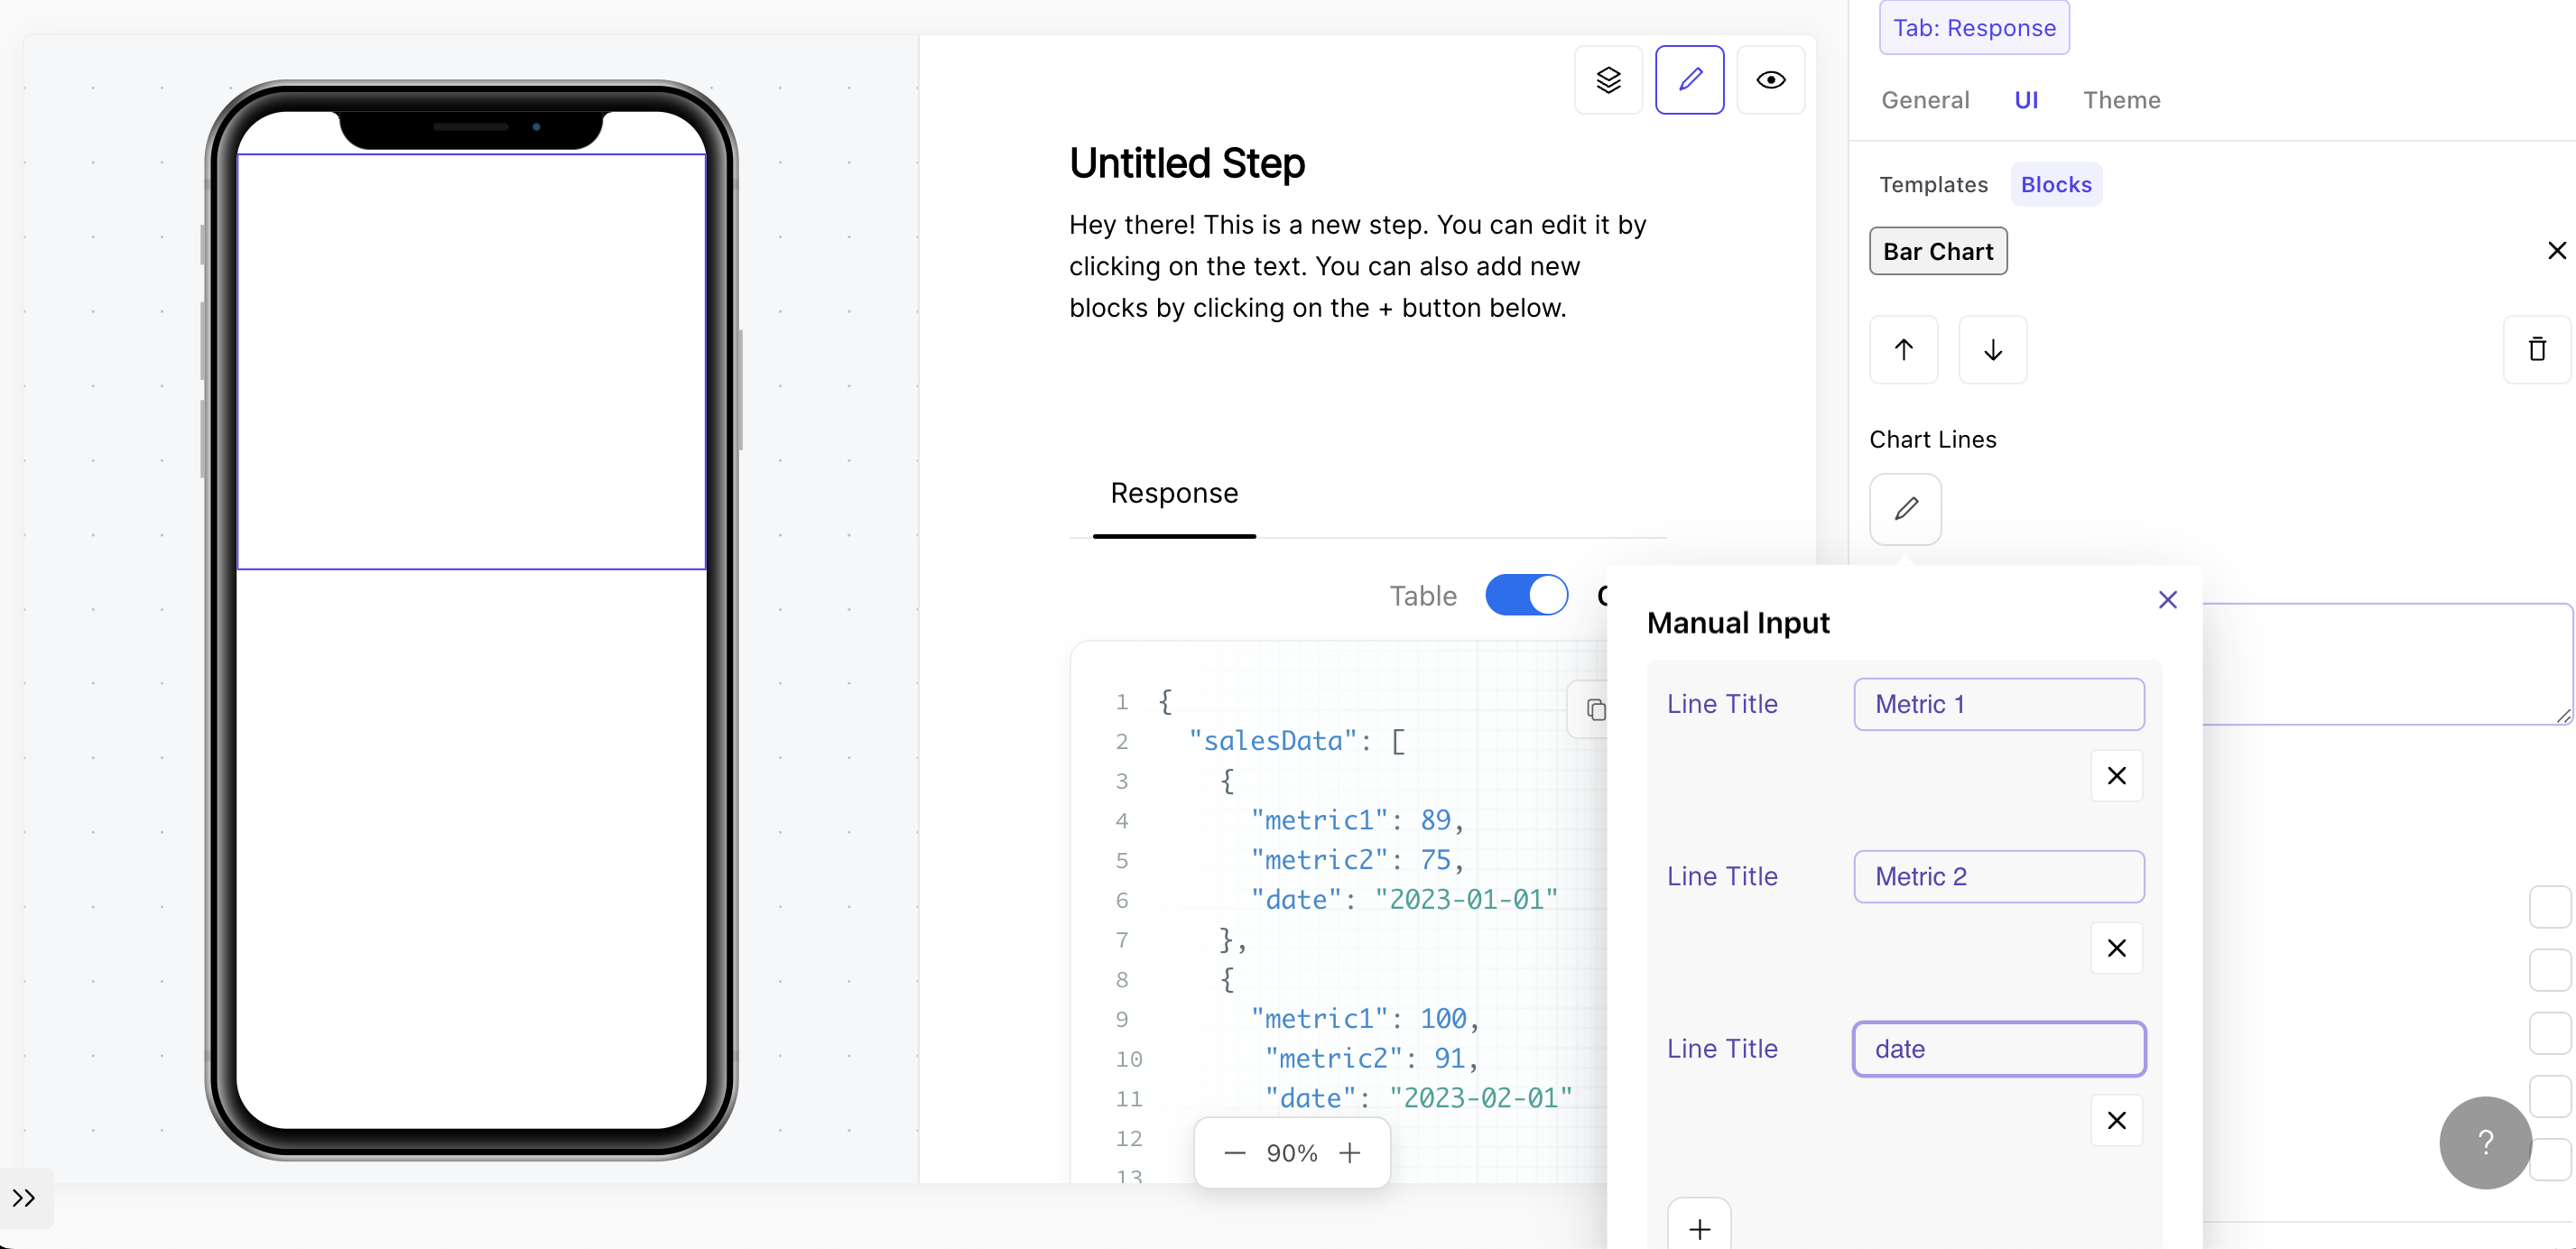
Add your chart of choice to your UI and click on the Chart Lines pencil icon to specify the names of the variables you wish to display. In this case, we are interested in Metric 1, Metric 2 and Date.
Note: Chart Lines simply the labels you wish to display and not a reference to actual data just yet
Now, let's link this chart with the sales data. Hit the Chart Data → Load from State button. In the DB Path, specify the relative path to the array containing the chart data. Since in this example, the array is in the root our JSON payload, its relative path is simply salesData
Under Key Paths, provide the paths to the numerical data you want to show on the chart. Just as with Lists, link to numerical data by proving its path within the salesData array.
All key paths must reference numerical data. The only exception for
non-numerical data is if the key path is also defined as the
Data Key. The Data Key can be thought of as the index
of the chart. In this example, since date is our
Data Key
, we can reference it in the key paths, even though it is a string.
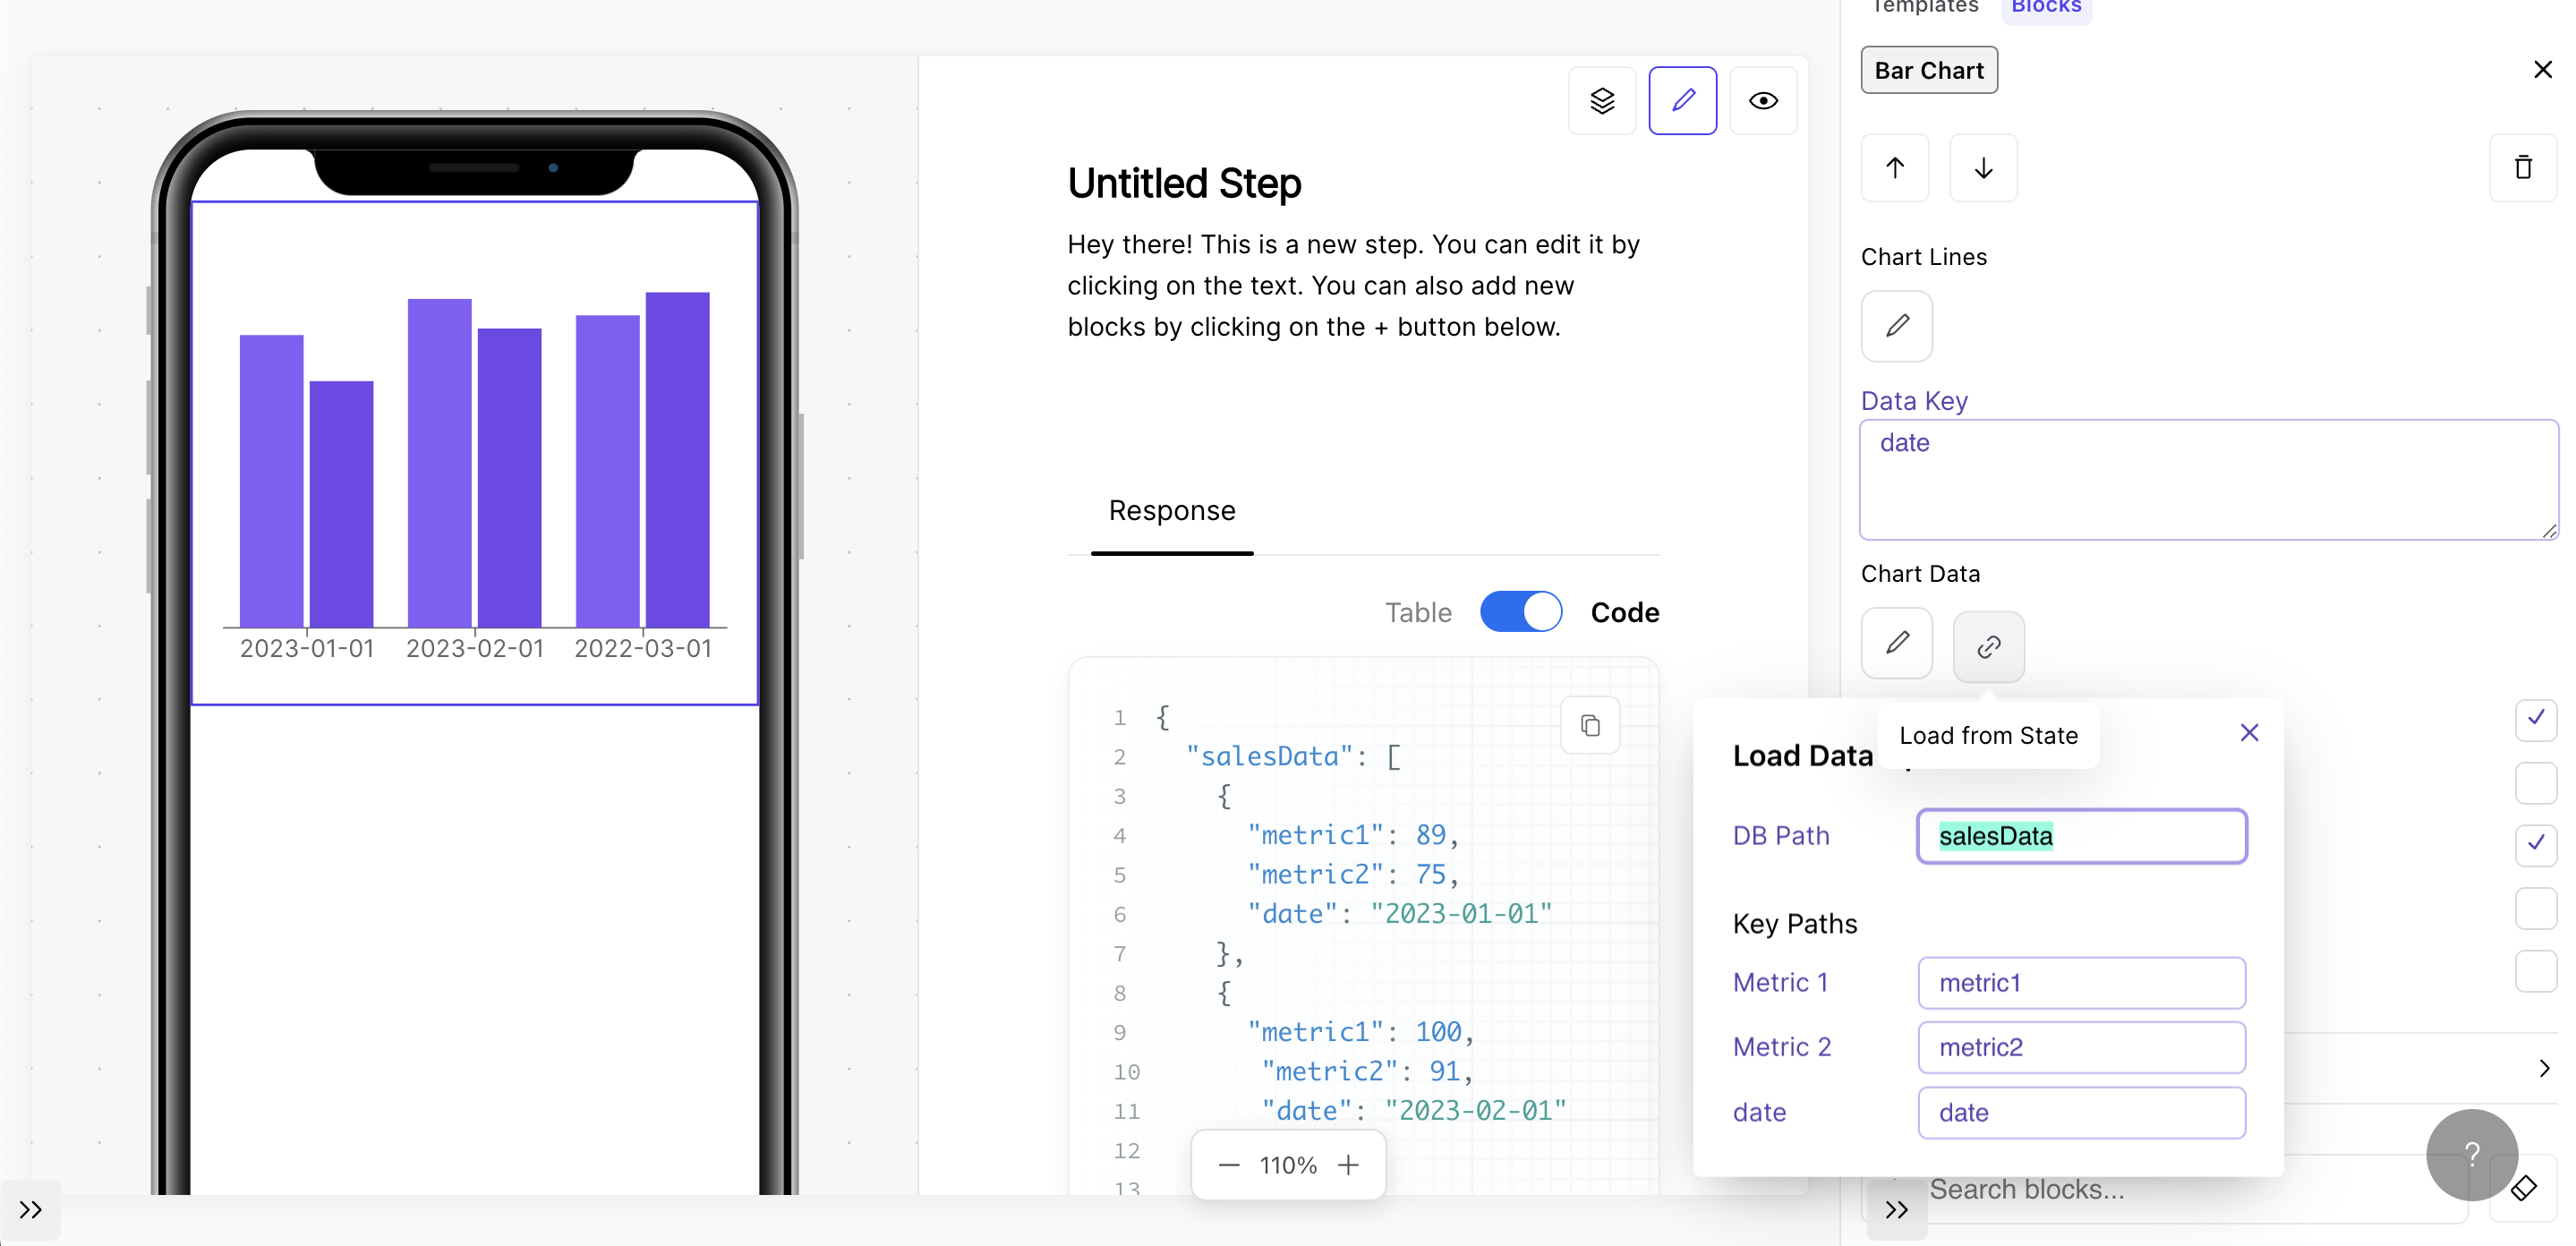
Tinker around with the right panel to configure the chart styling such as displaying axes, grid lines and a hovering tooltip to get the visual exactly how you want.
